Path Photo


break the wall or bring the war
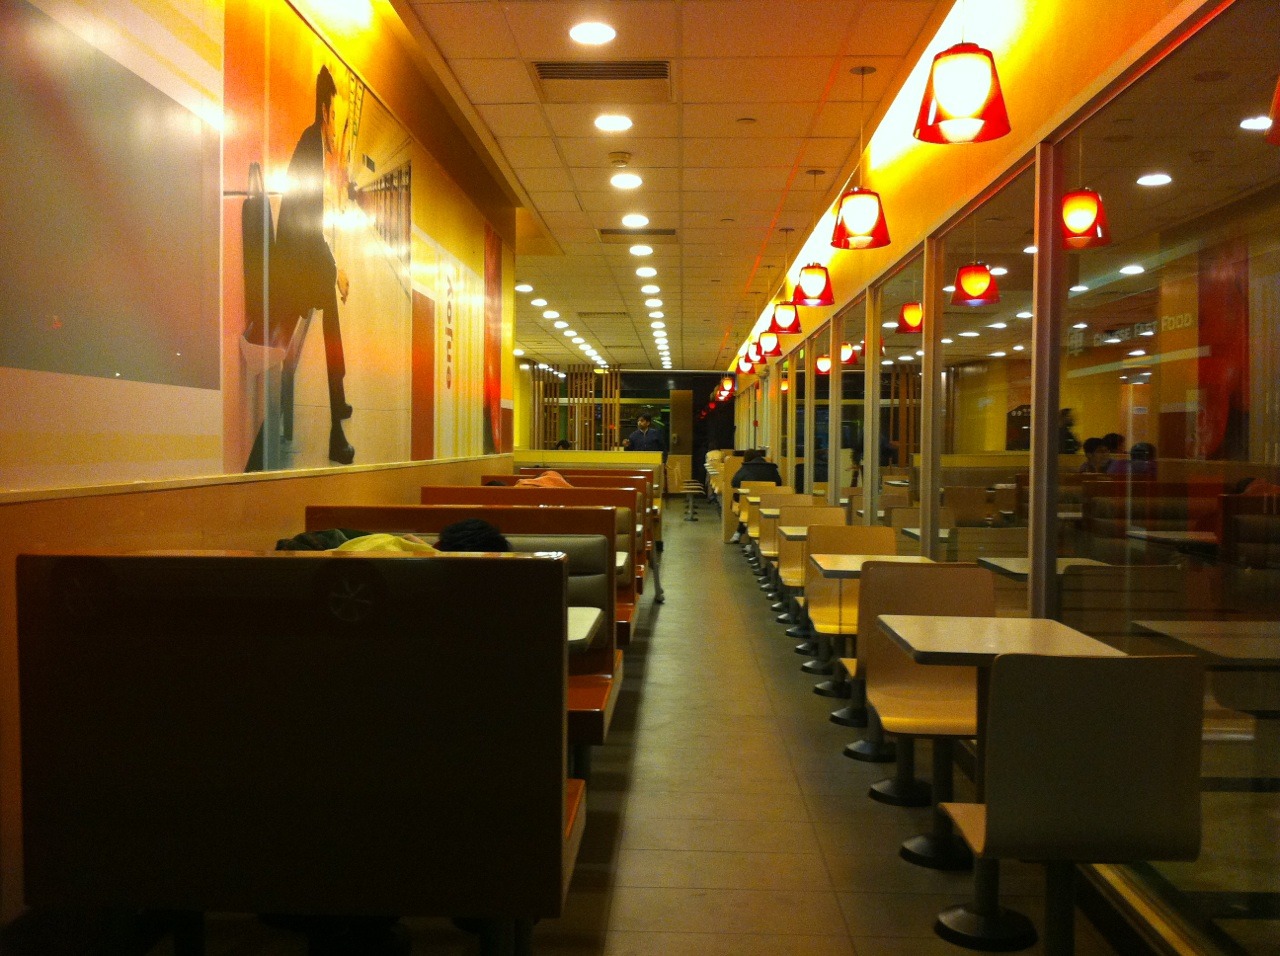
饿死了,来到午夜麦当劳。
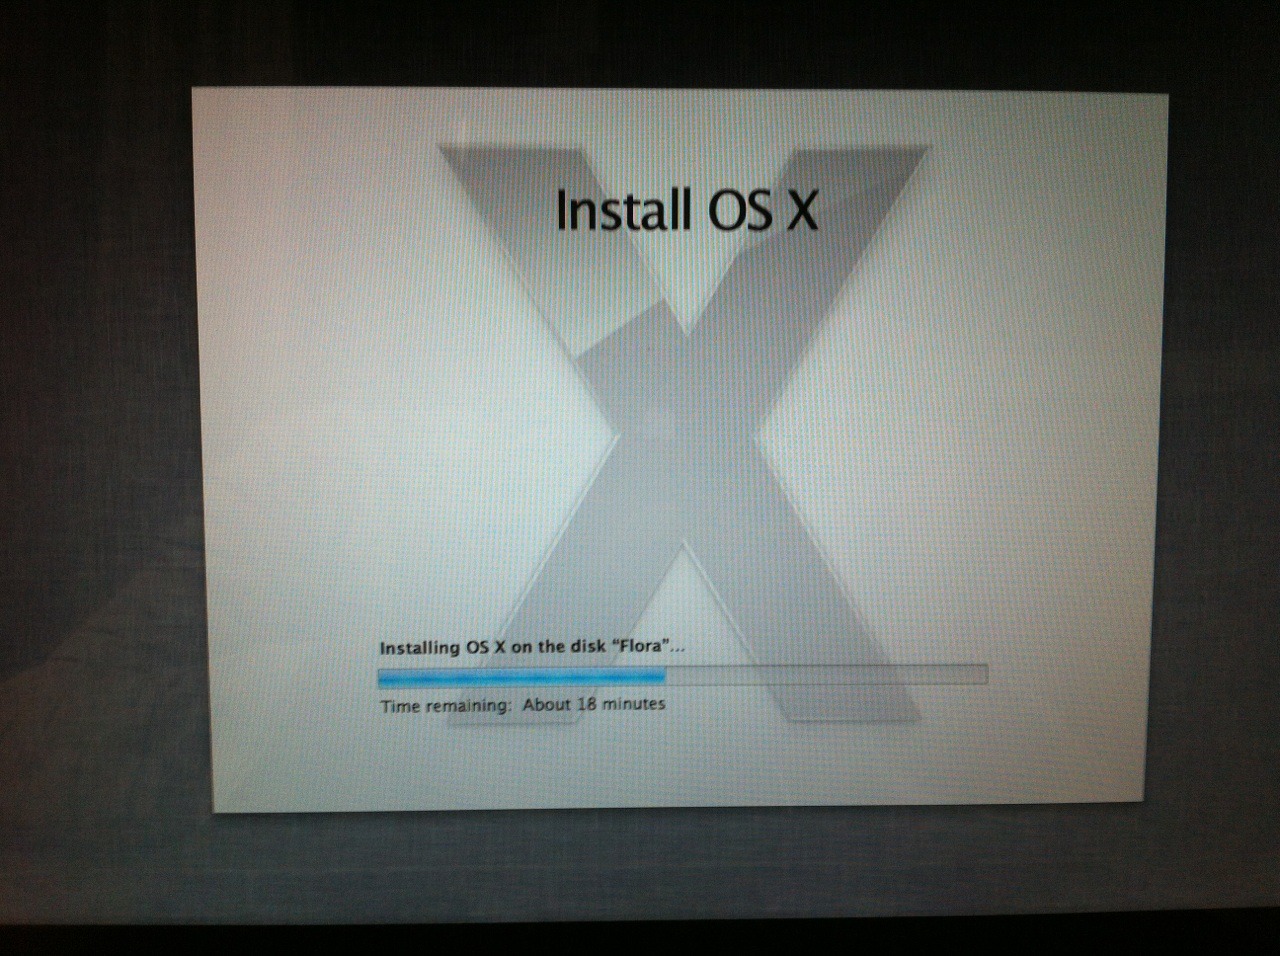
才过了1分钟,就从30分钟剩余变为18分钟剩余了。人类已经无法阻止ssd了,哈哈。
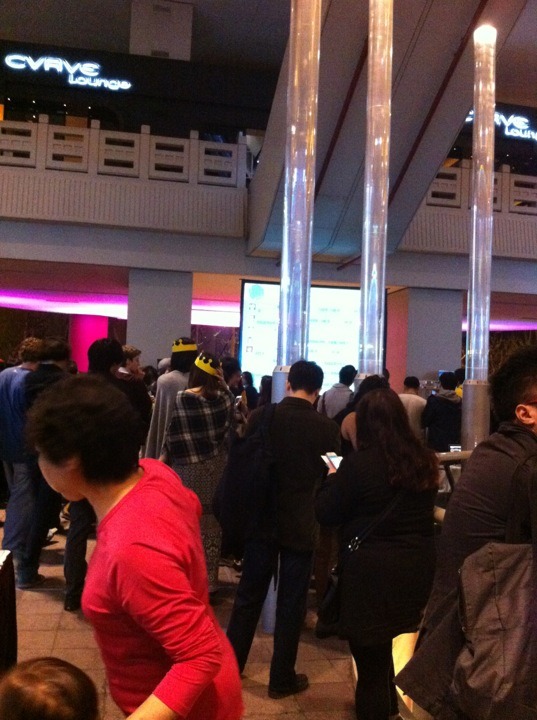
I am here.
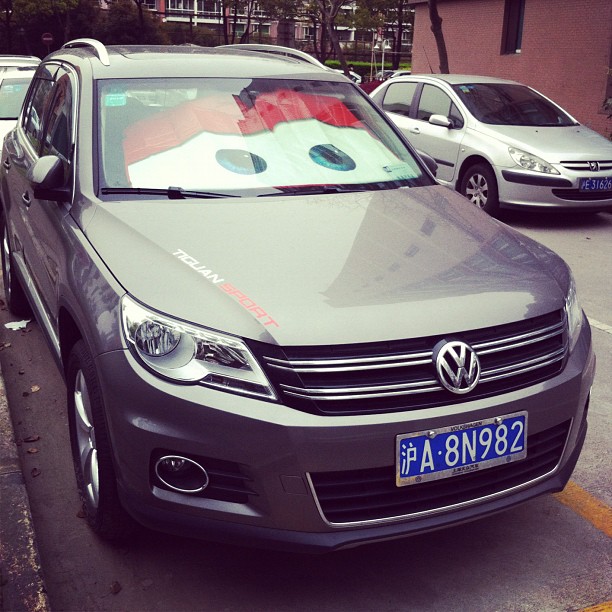
Cute car. (Taken with instagram)
因为今天 4pm 才吃了早餐,于是 11pm 下楼吃个午餐显得十分合理。
4pm 终于努力起床下楼来到 85 度吃早餐。
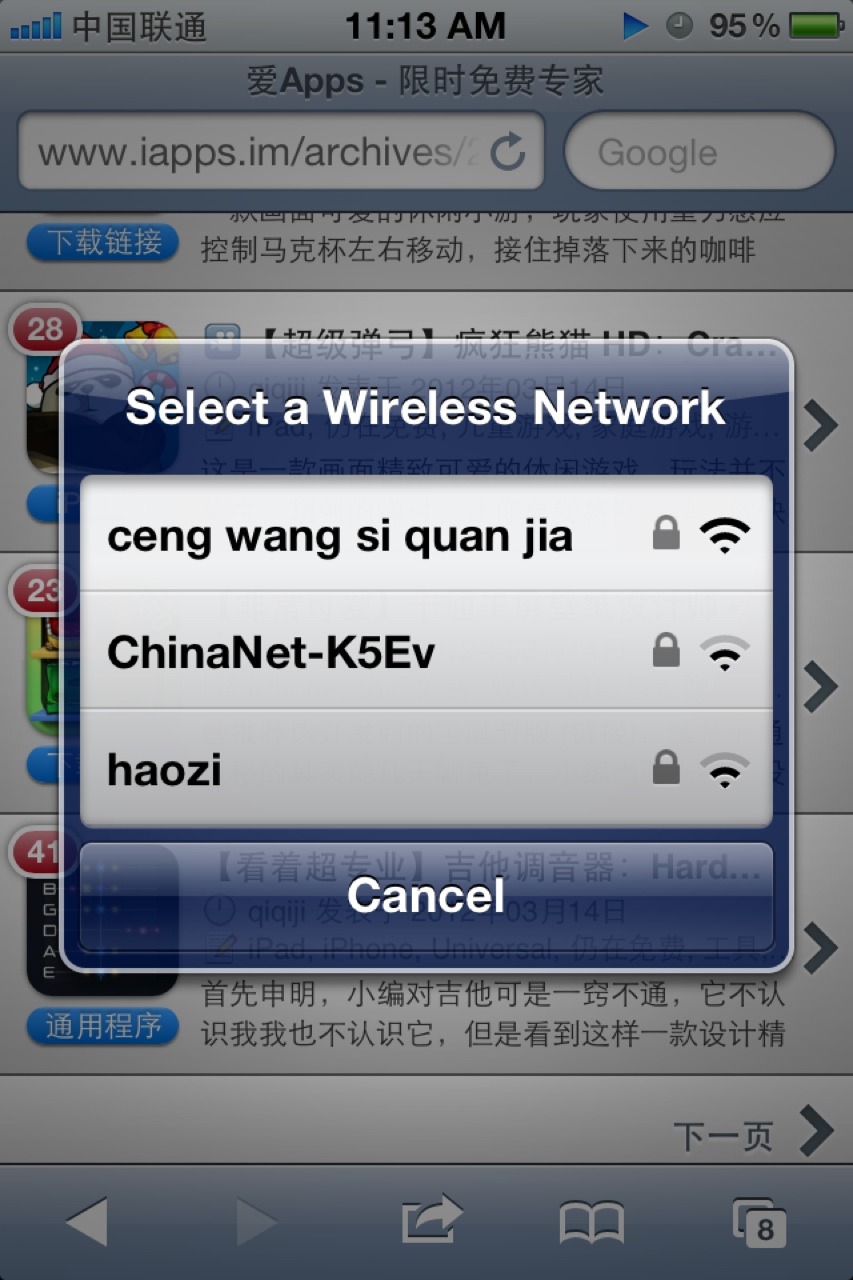
上班路上发现一个很威武的wifi.

